Contact : +917506372004
Cubase Course Content

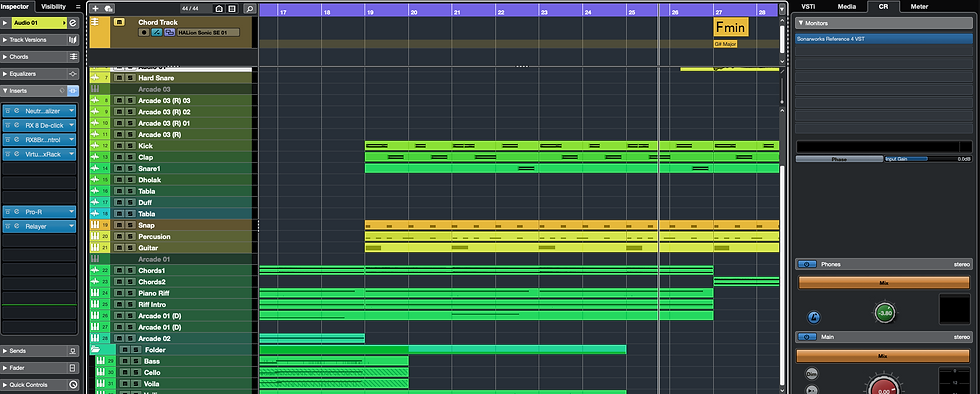

we have so many Cubase students all over the world at beginner and intermediate levels. We understand what has to be learned to achieve professionalization in Cubase for production and recording work. And after the experience of years, we have designed a course with the core and hidden tools of Cubase.
Cubase is the most advanced DAW ever. With millions of functions, advanced plugins and a fabulous mixer. Cubase rocks with unbelievable controls. Handling MIDI is the most advanced tool in Cubase with Chord Track and expression. While mixing is so handy with so many controls and features. Cubase has endless possibilities in music productions.
Introduction
Were you aware of the unique features of Abelton live to date? Who knew it could be used for production as well as a performance tool right? If you're a performer it’s such a handy tool to incorporate into the production for every learner of music.
1 Interface Overview
2 Starting a Project
3 Project Basics
4 Navigation Control
5 Cycling
6 Metronome
7 Media Bay
8 Window Setup
Course Fee : 35000INR
A Closer Look
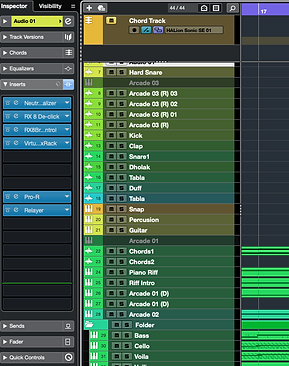
1 Instrument Track
2 Creating and Managing Tracks
3 Track Header Function
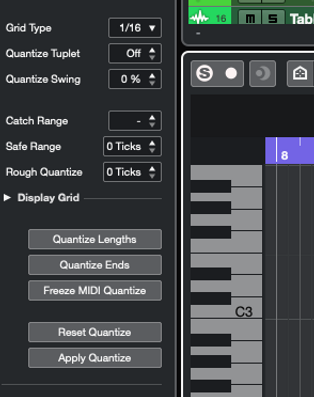
4 Quantizing
5 Project Management
6 Zooming
7 Working with Patches
8 Track groups
9 Summing Stacks
10 Project Properties
11 Pool Window
12 Track Types
Cubase offers a variety of ways to manipulate MIDI data, such as simple editing from the Arrange window, intricate editing from the Piano Roll, and the List View. Working with the Score View also involves creating and editing MIDI data; next month, we'll go into more detail about Cubase's Score features. Therefore, users of Cubase can modify 127 notes and 127 levels of controller data in a plethora of different ways.
Additionally, there are a tonne of MIDI plug-ins, including as arpeggiators and step sequencers, that can further modify how your notes sound. However, we will examine these in greater depth at a later time and concentrate on the most effective ways to obtain MIDI data this month instead.
Working with Midi
Cubase offers a variety of ways to manipulate MIDI data, such as simple editing from the Arrange window, intricate editing from the Piano Roll, and the List View. Working with the Score View also involves creating and editing MIDI data; next month, we'll go into more detail about Cubase's Score features. Therefore, users of Cubase can modify 127 notes and 127 levels of controller data in a plethora of different ways.
Additionally, there are a tonne of MIDI plug-ins, including as arpeggiators and step sequencers, that can further modify how your notes sound. However, we will examine these in greater depth at a later time and concentrate on the most effective ways to obtain MIDI data this month instead.
Cubase offers some pretty sophisticated MIDI manipulation tools. In their MIDI modifiers, one of these can be found. In this tutorial, MIDI Modifiers in more detail and use them effectively.
A dash cam with continuous loop recording captures video by replacing previous footage with newer material. As a result, you can be confident that the camera never misses a minute of your drive even if the installed SD memory card is full.
1 Introduction to midi clips
2 Advanced Chord Track
3 Explained MIDI Recording
4 Introduction to the Editor
5 The Piano Roll Editing
6 MIDI Draw Warping
7 Auto punch and Replace Mode
8 Loop Recording MIDI
9 Record Repeat and Capture as Recording
10 Musical Typing
11 Midi Modifier
12 Arrangement Markers
13 Working with Takes
14 MIDI FX
15 Midi Expressions
Audio Editing
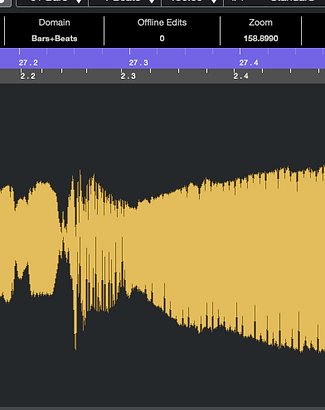
The process of editing an audio's length, speed, and volume, as well as adding new versions such as loops, is known as audio editing. Although it used to be done with analogue tape and razor blades by splicing and taping in a pre-digital era, audio editing is now nearly usually done on a computer using audio editing software.
It is fairly easy to stretch time. The biggest drawback is that pitch and tempo change in relation to playback speed. However, inventive musicians would work around this by recording in a different key and tempo, then playing it back quickly to make up for the alterations.
Your automation envelopes will feel more human-like if you use curved automation lines. By gradually altering a parameter's value as well as its rate of change, it is also possible to foster sensations of intense anticipation.
Automation offers a mechanism to manage how a system's parameters vary over time. When in arrangement view in Ableton Live, you can access automation by pressing the letter "A" on the keyboard.
1 Working with Audio
2 Region Editing
3 Wrapping
4 MIDI to audio
5 Time stretching
5 Working with Fades
6 Working with Markers
7 Understanding Automation
8 Automation Curve
9 Advance Automation
10 VariAudio
11 Hitpoint
12 Bounce at place
13 SamplerTrack
14 GrooveAgent
15 Advanced Audio Process
Mixing
A plugin is an additional piece of software that you can "plug in" to your primary recording programme (in this case Ableton Live.) Basically, it enables you to improve your musical creation process by incorporating multiple instruments and effects. In the majority of DAWs, you can use two different kinds of plugins.
The Compressor, one of the most popular inserts included with Ableton Live, is a tool that alters the dynamic range of a signal by lowering the level of the loudest parts, putting the loud and quiet parts closer together in volume, and resulting in volume disparities that are less noticeable.
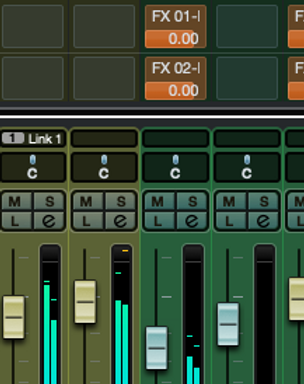
A track is mixed to accomplish three things. It gives the composition a more organised and polished sound. All of that fiddling with individual tracks and noises comes to an end as a result. Additionally, it prepares a stereo mix for mastering. Both Live and you are more than capable of handling all of these chores.
Abelton live has inbuilt plugins and has many audio effect creative plugins. Creating sounds using those plugins which are internal in nature. You need not explore the external plugins in that case. Unique feature such as rack isn't available in any other daw helps integrate smooth mixes in audios.
1 The Mixer
2 Working with Plugin
3 Tools
4 EQ
5 Compressor
6 Delay
7 Reverb
8 Envelope
9 Filter
10 Phaser
11 Chorus
12 Mixing
13 Aux Channel
14 Panning
15 Balancing
14 Third Party Effects
15 Automation
16 Buses17
17 Groups
Mastering
1 Mastering Concepts
2 Mastering Tools
3 Mastering Techniques
4 Izotope Explained
5 Export Audio
6 Dithring
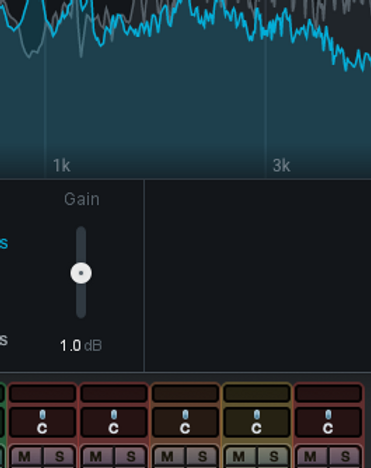
Applying mastering-type processing during mixdown over the main left-right bus may be the most straightforward method of mastering using Cubase. You may also apply such processing to submixes for a stem mastering method.